






ASCEND WiFi Bridge
WiFi bridge solutions for digital signage and remote devices
Bring wired devices onto the network over WiFi – even inside foreign, restrictive guest networks. Includes Wake-on-LAN forwarding, so you can wake displays and terminals remotely.
Request a consultationWhat is a WiFi bridge – and how does it work?
A WiFi bridge connects wired network devices to the internet or to a higher-level network over an existing WiFi connection. Technically, this is a client bridge: a router logs onto the existing WiFi – exactly as a laptop or smartphone would – and provides its own wired LAN with Ethernet ports on the back. Anything you connect to these ports is thereby indirectly connected to the WiFi, without needing its own WiFi hardware.
This mode of operation is called WiFi client mode or "WiFi as WAN": the router does not use its WiFi module to create its own network, but to dial into a foreign network – just like an ordinary end device. The real challenge lies in the next question: how do the devices behind the bridge become visible on the foreign network?
The obvious answer would be transparent bridging at Layer 2 – the bridge would then pass each connected device's own MAC address (the unique hardware identifier of a network device) unchanged onto the WiFi, so that every device appears as an independent participant. In practice, this regularly fails: foreign and restrictive networks – corporate WiFi, guest networks in hotels, halls, or on construction sites – are rarely designed to accept an arbitrary number of foreign MAC addresses and IP requests from a single connection.
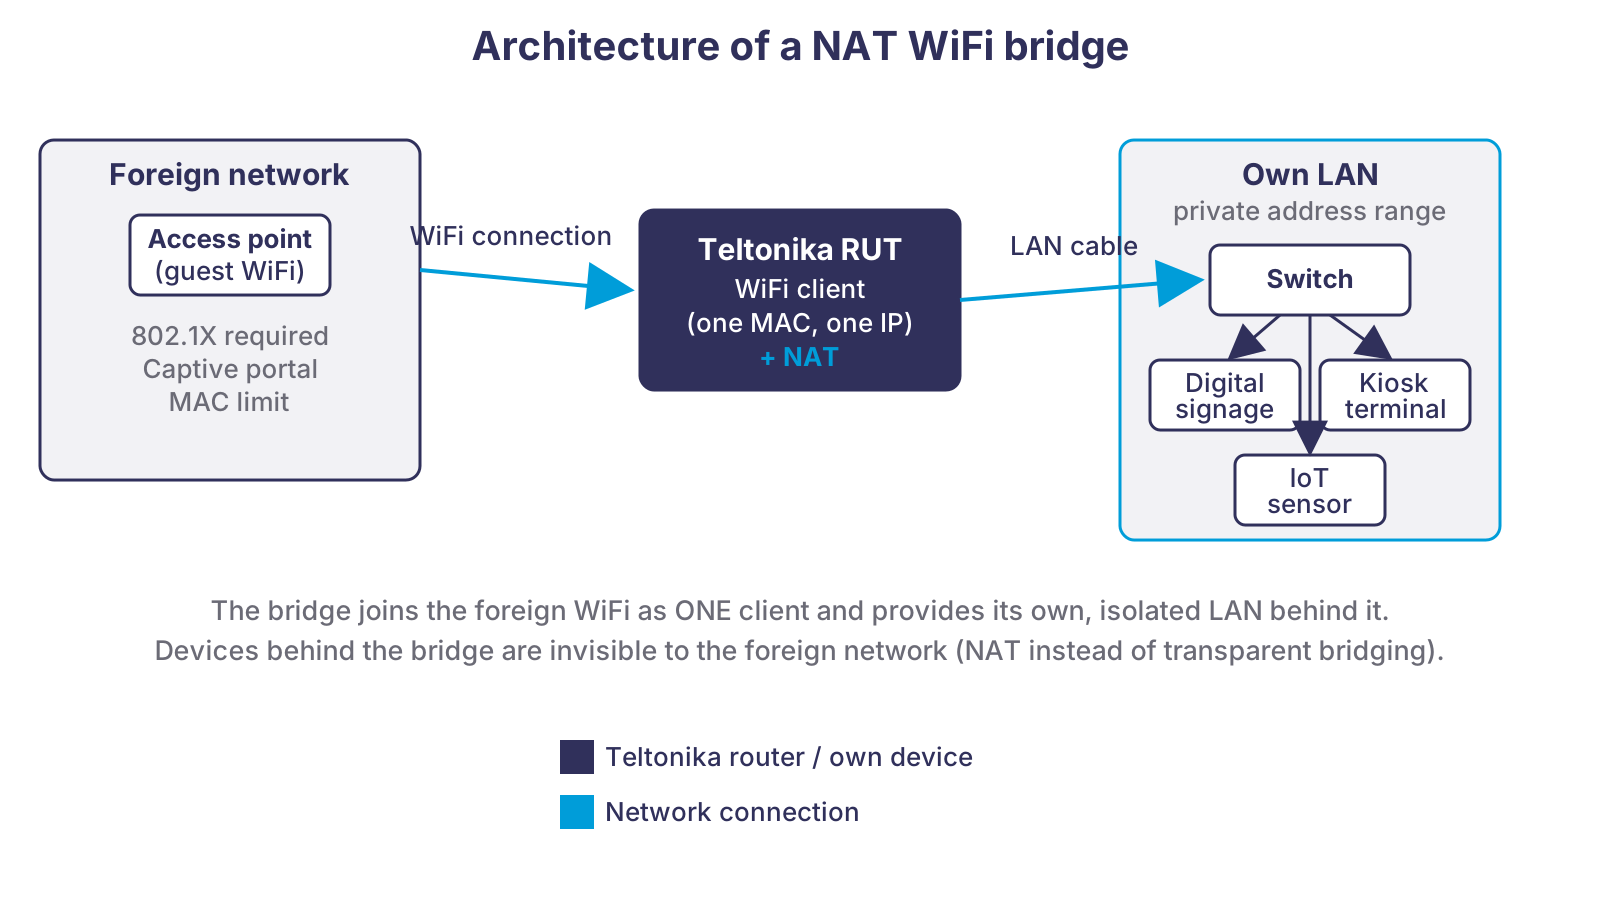
The more robust approach is NAT routing (Network Address Translation): the bridge presents itself externally as a single device – one MAC address, one IP address – and internally translates between this one external address and the many addresses of the devices in its own LAN behind it. To the foreign network, this looks like a single, unremarkable end device. This property is exactly what makes NAT-based WiFi bridges usable even in networks that would never be cleared for genuine Layer 2 bridging.
A quick clarification, since the terms are often confused: a repeater or a mesh system merely extends the range of the same WiFi, without introducing a new network or address translation, and point-to-point wireless connects two locations – for example two buildings – over greater distances. These are different tasks from those of a client bridge, which makes a foreign WiFi network usable for wired devices.
The real-world case: digital signage displays on a foreign guest network
This is what a real enquiry looked like that led to this solution: a customer wanted to run several digital signage displays at a remote site – connected by cable to a Teltonika WiFi router acting as a bridge into the existing network on site. However, the network on site was not the customer's own, but a foreign guest or corporate WiFi network whose configuration the customer had no access to. In addition, the displays were to be woken remotely via Wake-on-LAN – a signal that reactivates a sleeping device over the network – for example to put them into a power-saving mode outside operating hours and bring them back up in good time before the next use.
Restrictive guest networks typically bring five obstacles that cause a simple bridge to fail:
1. Lack of WDS support. The Wireless Distribution System (WDS) is a method for connecting several access points into a single, transparent network. Many guest networks don't support it at all – a bridge that relies on WDS never even gets onto the network there.
2. Mandatory 802.1X. 802.1X is an authentication standard in which every device must identify itself to the network via a certificate or credentials before gaining access. Corporate WiFi networks frequently require this for every single participant – an obstacle a simple bridge cannot easily clear.
3. MAC address restrictions. Many networks only allow a limited number of MAC addresses per connection. A bridge that tries to pass through the MAC addresses of all connected devices unchanged is quickly blocked.
4. Captive portals. A captive portal is the login page that automatically opens on many hotspots and guest networks on the first connection attempt, and only unlocks actual network access after confirmation or login. A device without a screen – such as a router or a digital signage player – cannot operate this portal itself.
5. DHCP quirks. DHCP (Dynamic Host Configuration Protocol) is the service that automatically assigns an IP address to devices on the network. If several devices behind the bridge are each meant to receive their own address from the foreign network, additional DHCP relaying is needed – in a network with unknown firewall rules, often a bottomless pit.
For the customer, that meant: without a well thought-out solution, any one of these five obstacles could have brought the project to a standstill – and even if the bridge had made it onto the network, waking the displays remotely via Wake-on-LAN would have posed a problem of its own. More on that in the next section.
The Ascend solution: NAT bridge plus Wake-on-LAN scripts
The answer to the five obstacles is the NAT-based client bridge from the fundamentals section above: a Teltonika router from the RUT series logs onto the guest network in WiFi client mode – as a single device, with one MAC address and one IP address. WDS support isn't needed, because no transparent bridging takes place. The router itself handles the 802.1X login, on behalf of all the devices behind it. MAC restrictions become irrelevant, because only one address is visible externally in any case. A captive portal can, where necessary, be dealt with once in advance, and a periodic re-login can be supported through monitoring and scripts – we don't promise 100% automation for every conceivable portal type, but we do provide a tested solution for the specific target site. And DHCP relaying becomes unnecessary, because the devices behind the bridge get their addresses from their own LAN, managed by Ascend, rather than from the foreign network.
That leaves the question from the real-world case: how do you wake devices behind such a bridge remotely? Wake-on-LAN (WOL) works in a conceivably simple way at its core – a so-called magic packet, a special broadcast data packet at network layer 2, is sent into the local network and wakes the matching device from sleep based on its MAC address. The problem: a broadcast packet does not cross network boundaries on its own – least of all the NAT boundary of a bridge, not even across a tunnel over the internet. A magic packet sent remotely simply doesn't arrive behind the bridge unless someone injects it there specifically.
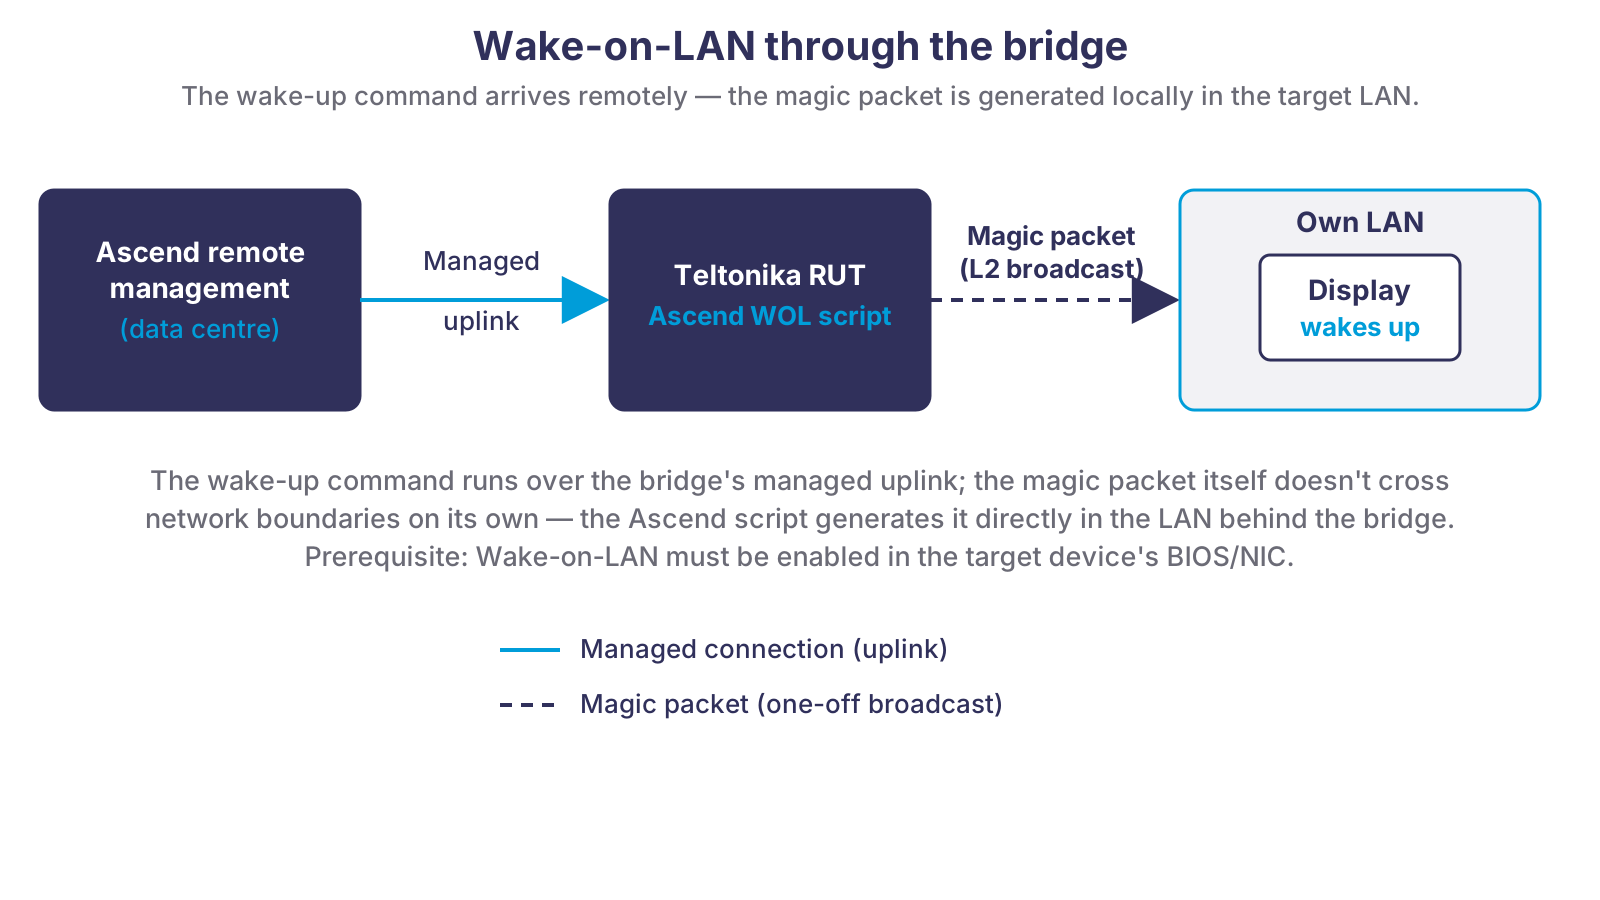
This is exactly what our own WOL forwarding scripts were built for: they receive the wake-up command over the bridge's managed uplink and then send the magic packet specifically into the local LAN behind the bridge – to where it actually needs to arrive. This lets a display or terminal at the remote site be woken remotely, without anyone on site having to do anything. The prerequisite on the device side: Wake-on-LAN must be enabled in the BIOS or on the target device's network adapter (NIC) – we check this together with you before the rollout.
Ascend provides everything from a single source: the hardware (pre-configured Teltonika routers), the software (the WOL forwarding scripts and the NAT configuration), advice on the right setup for your target site, and the complete configuration – prepared in Ascend's data centre before the device even sees the deployment location.
The bridge architecture and the path of the Wake-on-LAN signal
The fundamentals from above, in two diagrams: on the left, the architecture of the NAT bridge; on the right, the path of the magic packet from remote control to display. Click a diagram for the full view.
- The bridge presents itself on the foreign network as a single device – 802.1X, captive portal, and MAC restrictions remain invisible to the devices in its own LAN behind it.
- The Ascend WOL script receives the wake-up command remotely and sends the magic packet specifically into the local LAN – to where the device is actually waiting.
From the data centre to the deployment site
The deployment workflow from Ascend's data centre to the site – three steps, no IT staff required on site.
Configuration in the data centre
Every bridge is pre-configured in Ascend's data centre before shipping: WiFi credentials for the target network, NAT rules, and the WOL forwarding scripts are all set up before the device sees the deployment location.
Plug and play on site
On site, the bridge only needs to be connected to power and to the existing network or WiFi signal. No configuration dialogue, no IT staff needed – plug in, wait until the connection is established, done.
Remote management
After commissioning, Ascend monitors and maintains the bridge remotely: firmware updates, adjustments to NAT and WOL rules, connection monitoring – without an on-site visit.
Where NAT WiFi bridges with Wake-on-LAN excel
The digital signage case is representative of several related scenarios where wired devices need to be connected over a foreign or existing WiFi network.
Digital signage
Kiosk and self-service terminals
IoT sensors in existing buildings
Exhibition stands and site containers
Best practice for the rollout
A number of practices have proven their worth across numerous bridge rollouts and can be applied to any project.
Check the WiFi profile in advance. Let us know, ideally before configuration, what authentication is required at the target site, whether there are MAC restrictions, and whether a captive portal exists. The more precisely we know the target network, the more reliably the bridge will work from day one.
Test Wake-on-LAN before the rollout. On a pilot device, check that Wake-on-LAN is enabled in the BIOS or on the network adapter before rolling out several sites at once.
Use monitoring from the start. A bridge that goes offline unnoticed is worse than one that never worked in the first place – because no one notices it's missing. Remote management is active from commissioning onwards.
Is a single line not enough? If a single connection isn't sufficient and you want to combine several lines into a pooled bandwidth, read more about our Multi-WAN bonding with Viprinet.
Recommended hardware for WiFi bridges
All models support WiFi client mode and can therefore be operated as a NAT bridge. The advantage of LTE routers in this role: if the guest network fails, the bridge can automatically fall back to the built-in mobile connection – a failover that wouldn't be possible with a WiFi-only bridge without a mobile module.
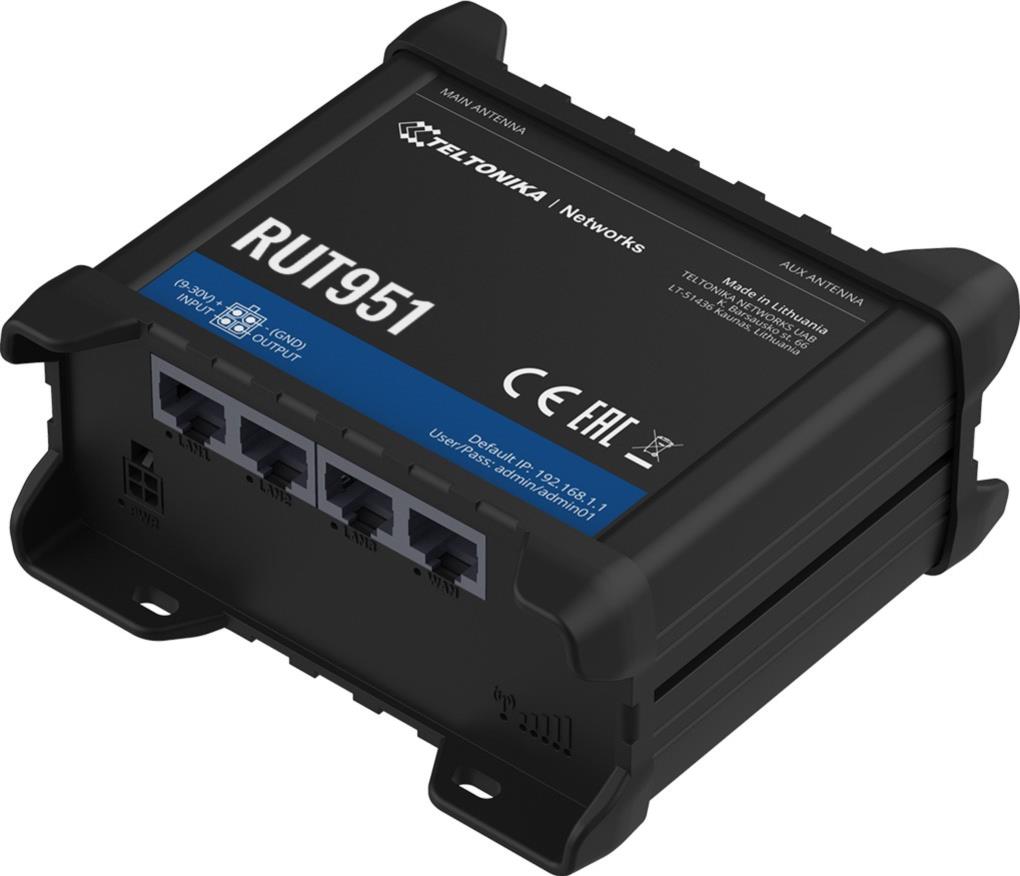
RUT951
LTE router with WiFi and dual-SIM. Operates in WiFi client mode as a NAT bridge and falls back to the built-in mobile connection if the guest network fails – with dual-SIM providing additional redundancy should one mobile provider also fail.
RUT901
LTE Cat 4 router with WiFi, dual-SIM, and failover. A cost-effective bridge option for branches and remote sites with mobile backup.
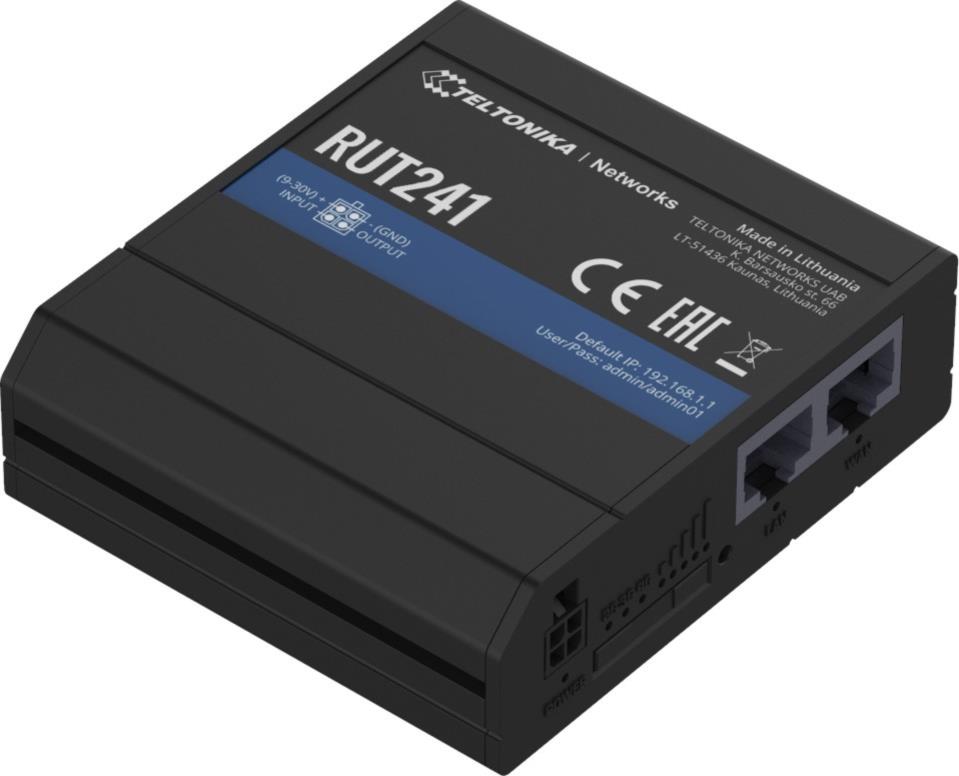
RUT241
Router with WiFi 4 and 4G LTE. The all-rounder for kiosk terminals and decentralised branches connected into the existing network via WiFi client mode.
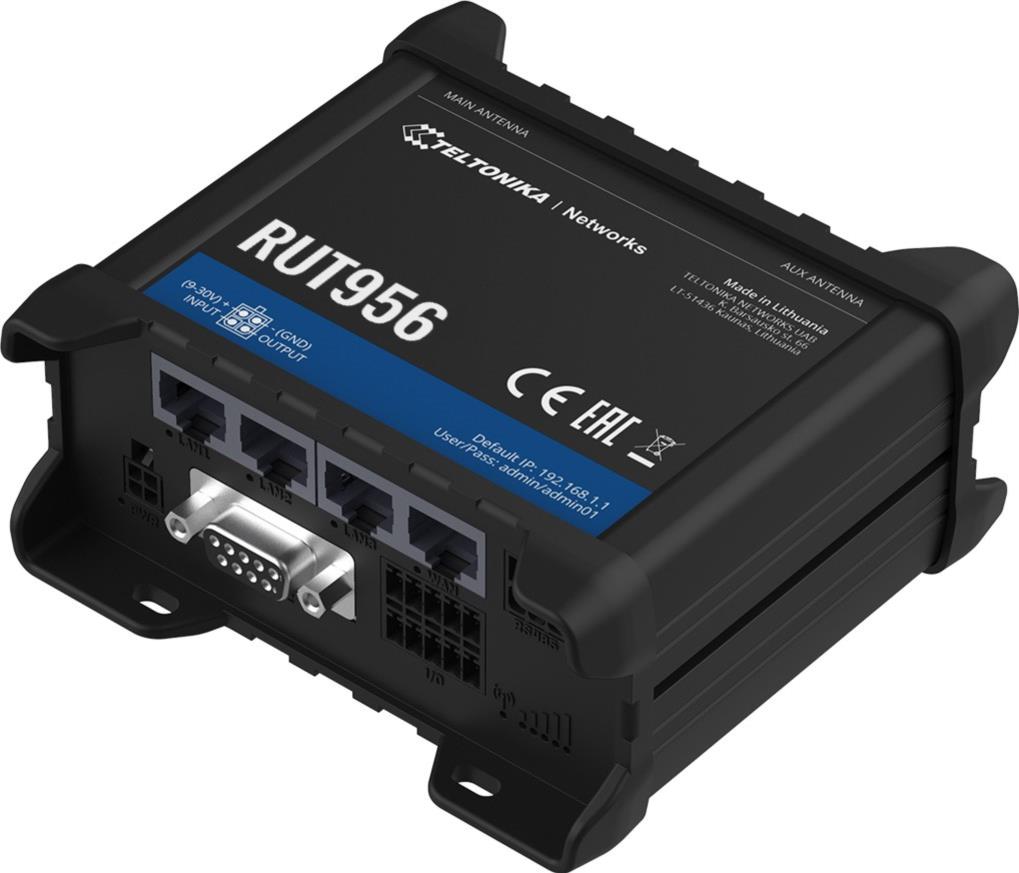
RUT956
Industrial router with Ethernet, I/O, GNSS, and RS485. For demanding IoT and bridge scenarios with multiple connected devices and sensors.
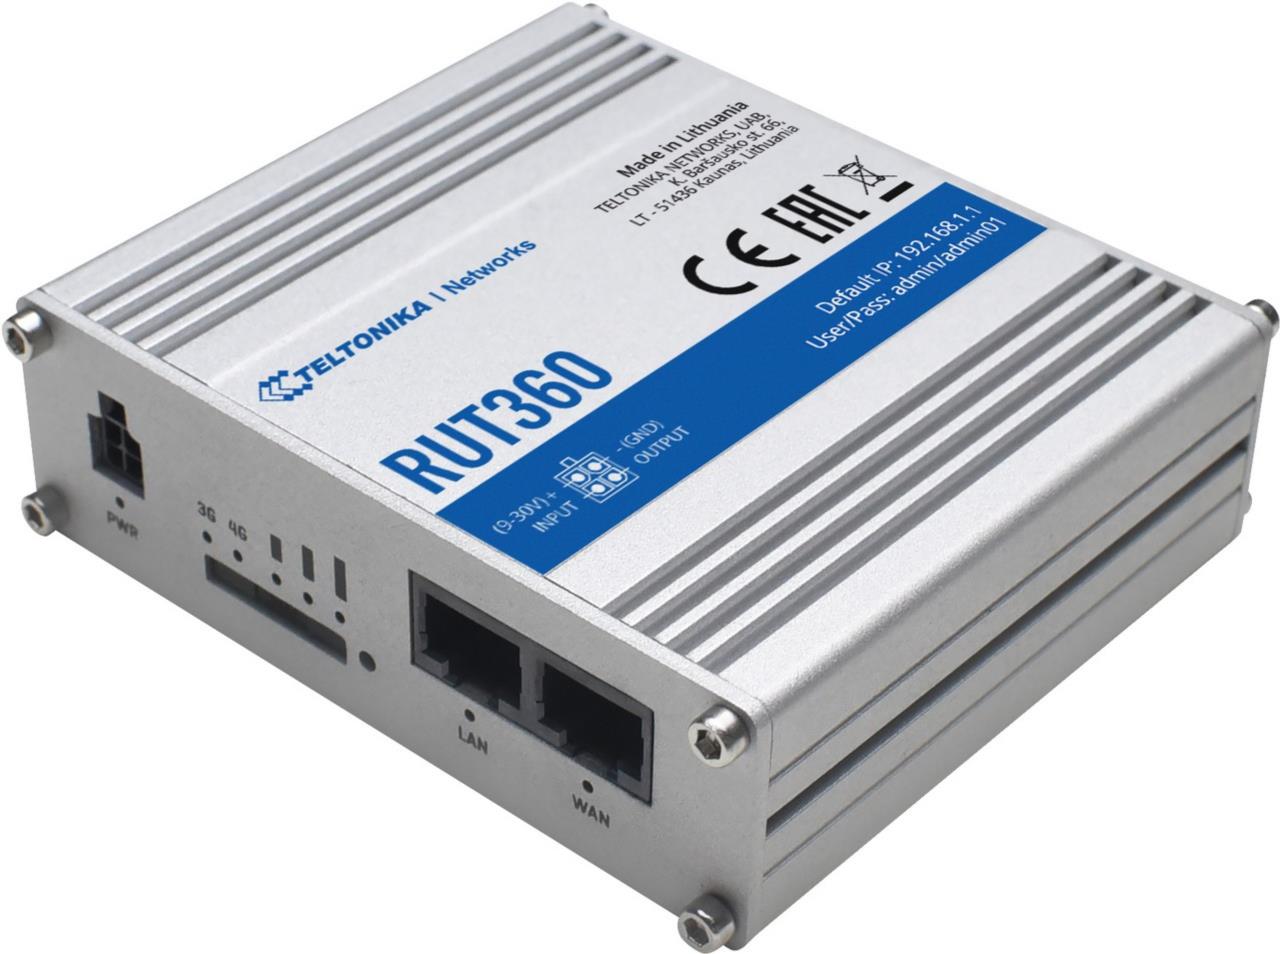
RUT360
Industrial router with DIN rail mounting. For control cabinets and site containers where the bridge is installed permanently and ruggedly.
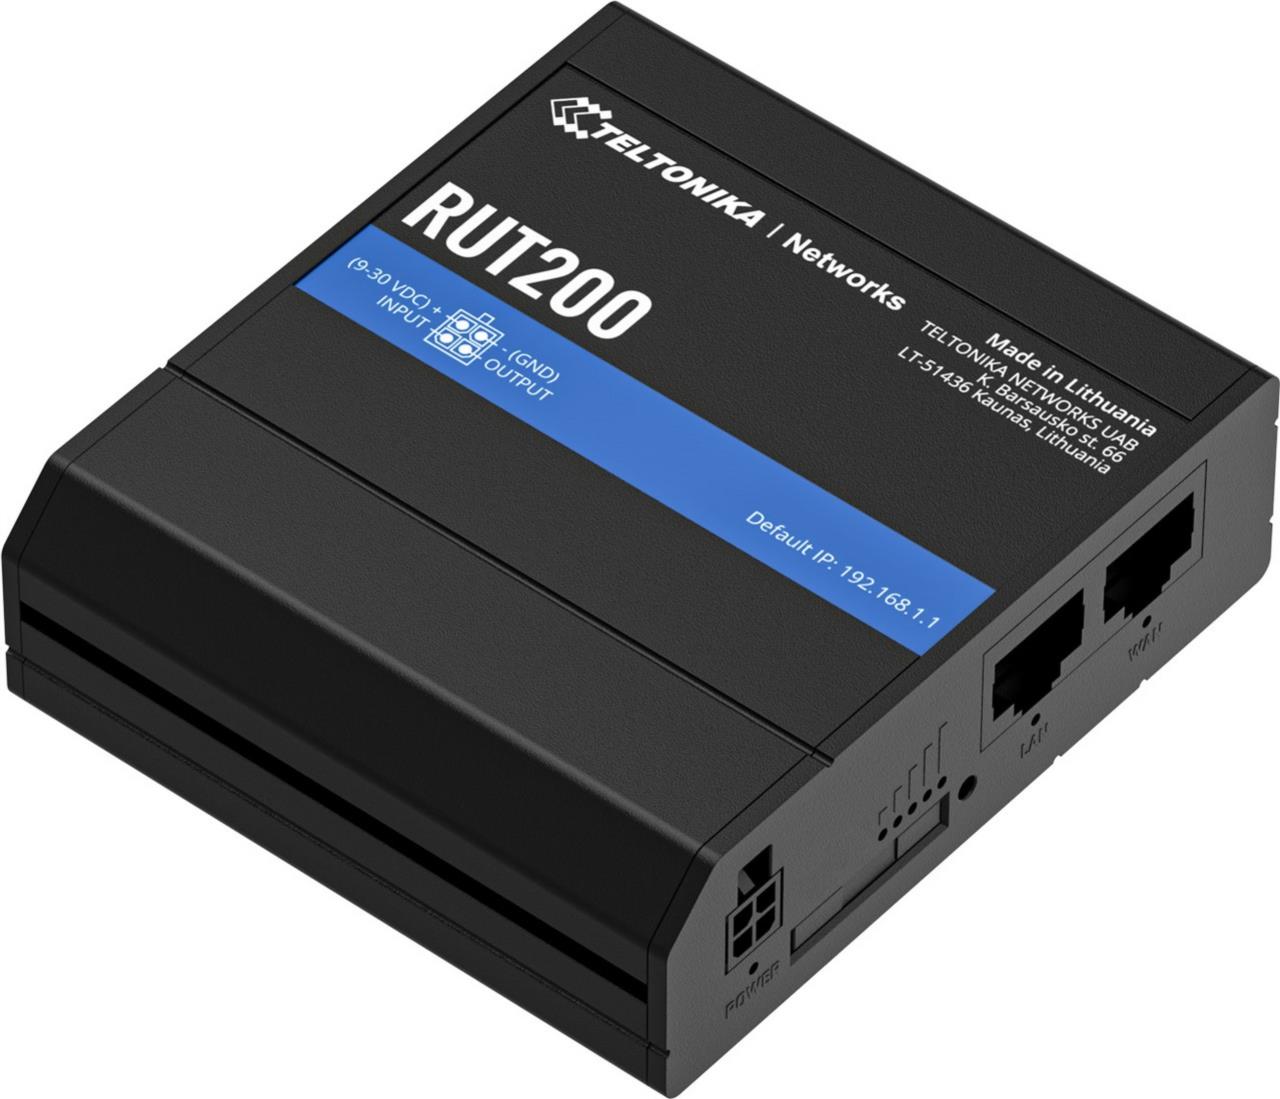
RUT200
Compact industrial router with WiFi and two Ethernet ports. Entry-level model for simple bridge deployments – digital signage, kiosk terminal, a single IoT sensor.
FAQ
Request a consultation
Tell us about your deployment scenario. We'll get back to you within one business day and check whether a WiFi bridge solution suits your remote sites.